1.2. Quick Start Guide Token Management#
1.2.1. What this guide is about#
This Guide will show you how to setup a basic LinOTP example configuration to give you an idea, what is to do next after you have successfully installed LinOTP. So we will cover:
How to…
connect LinOTP to your user databases
roll out tokens
assign tokens to users
test if your user can successfully authenticate with his token against LinOTP
We assume, you have a running instance of LinOTP as described in the Server installation and you have a basic idea, why you want LinOTP in your authentication environment.
Instead of installing LinOTP yourself, you could save time and get professional support if you use our LVA (LinOTP Virtual Appliance):
1.2.2. Getting started - the Web UI#
Starting with LinOTP version 2.2, a management Web UI is available for management tasks for users and tokens. With LinOTP 3.2 comes a new management of the users who log in to the WEB UI to manage tokens. Thereby LinOTP takes over the login itself. The first admin user was created during installation, more can be maintained here:
Managing LinOTP token administrators
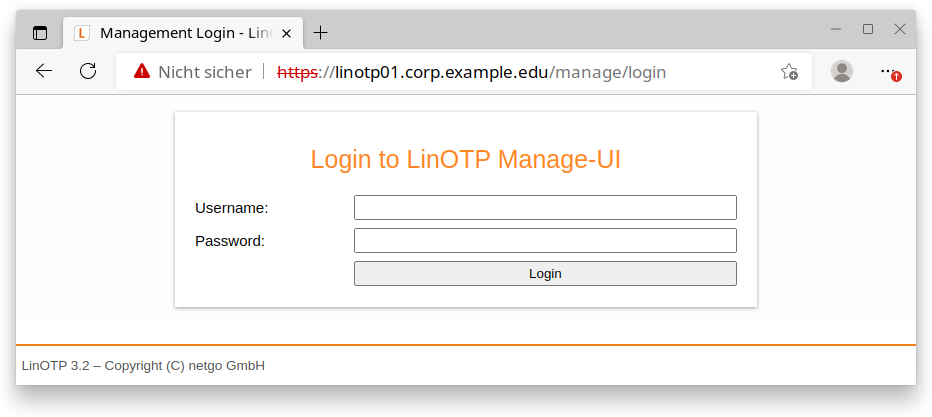
The WEB UI can be accessed by calling
https://<linotp_ip or fqdn>/manage
The Web UI uses JavaScript, JSON and the jQuery framework. It is tested with current browsers to relase time.
Firefox 3x and above
Google Chrome 4x and above
also Edge and Vivaldi
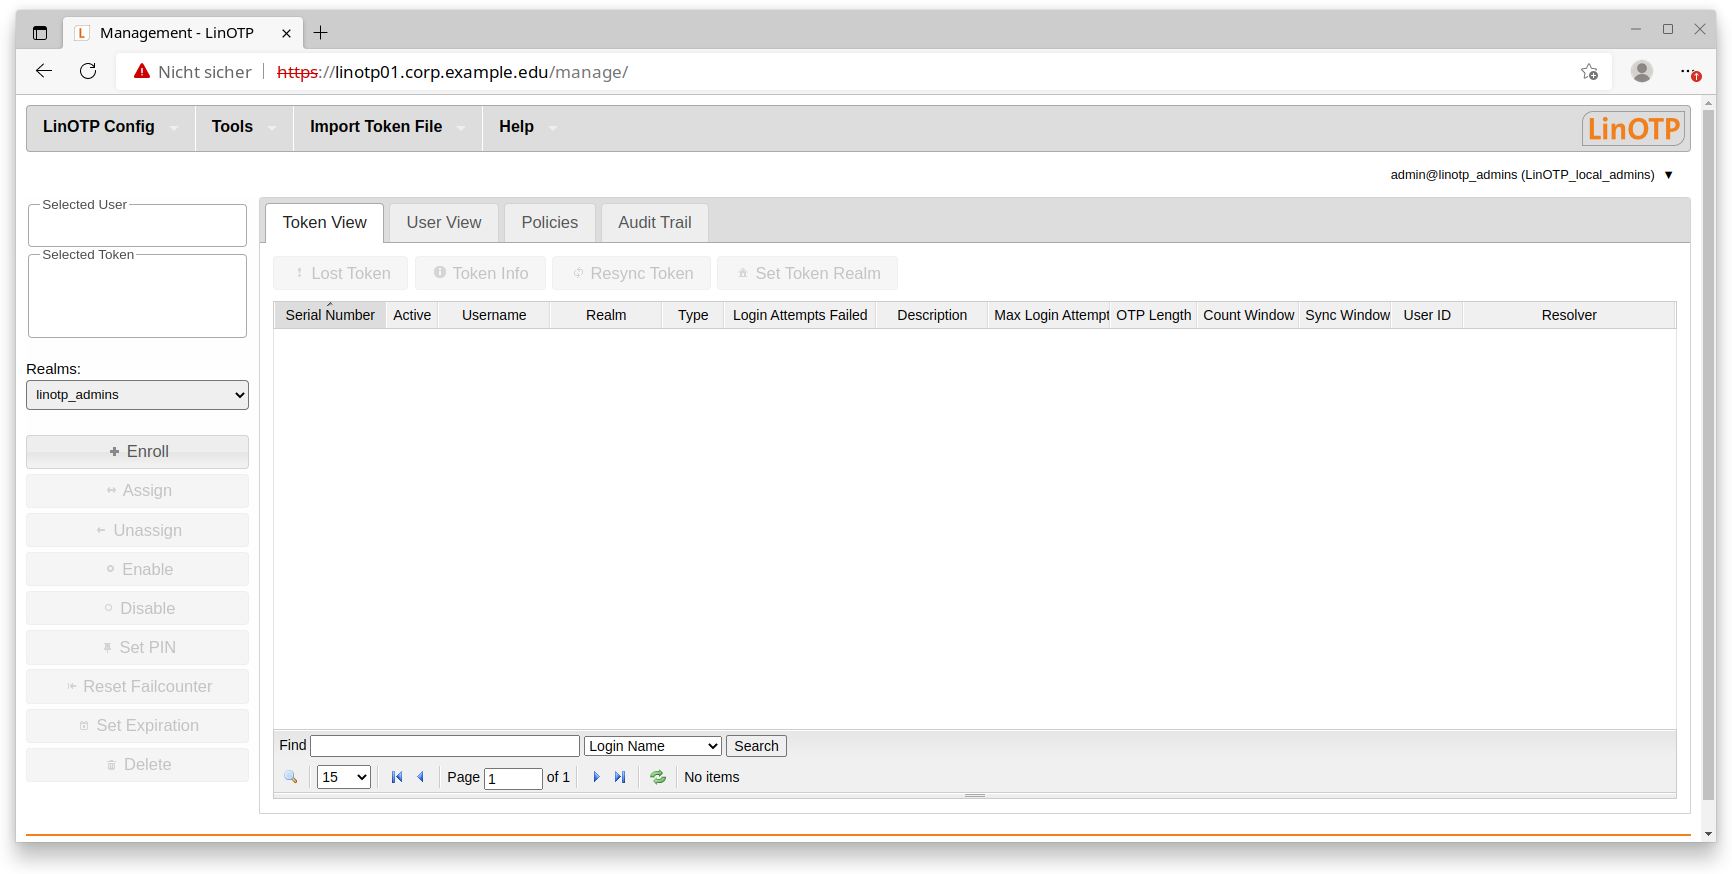
Web UI after first login:
1.2.3. UserIdResolvers#
Tokens will be assigned to users. LinOTP does not possess a builtin user-management so it can (and must) be connected to the user directories of your choice. These can be LDAP-based directory services (Microsoft Active Directory, Novell eDirectory, Open LDAP, amongst others), SQL-based databases or flat files such as /etc/passwd. The third possibility is offered by our internal UserIdResolver, these are maintained from csv files via the import tool: InternalSQLResolver
With the new login technology at /manage, it is easy to group appropriate groups of administrators into UserIdResolvers and set them access rights by policy.
These connections are implemented by the so called “UserIdResolvers”. You will have to setup a separate UserIdResolver for each user-store in order to assign Tokens or Authorization to the there stored users. LinOTP does need only read permissions for accessing the user directories. So LinOTP does not interact with your users except querying their names and - if configured - allowing users to log into the self-management Web UI using their normal login credentials.
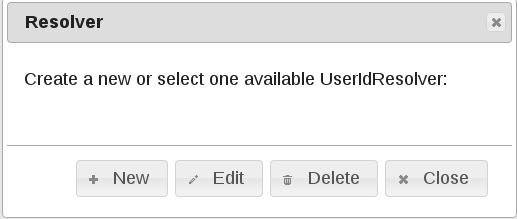
Create UserIdResolver#
So let us create our first UserIdResolver. In this example we will connect to a Open LDAP server.
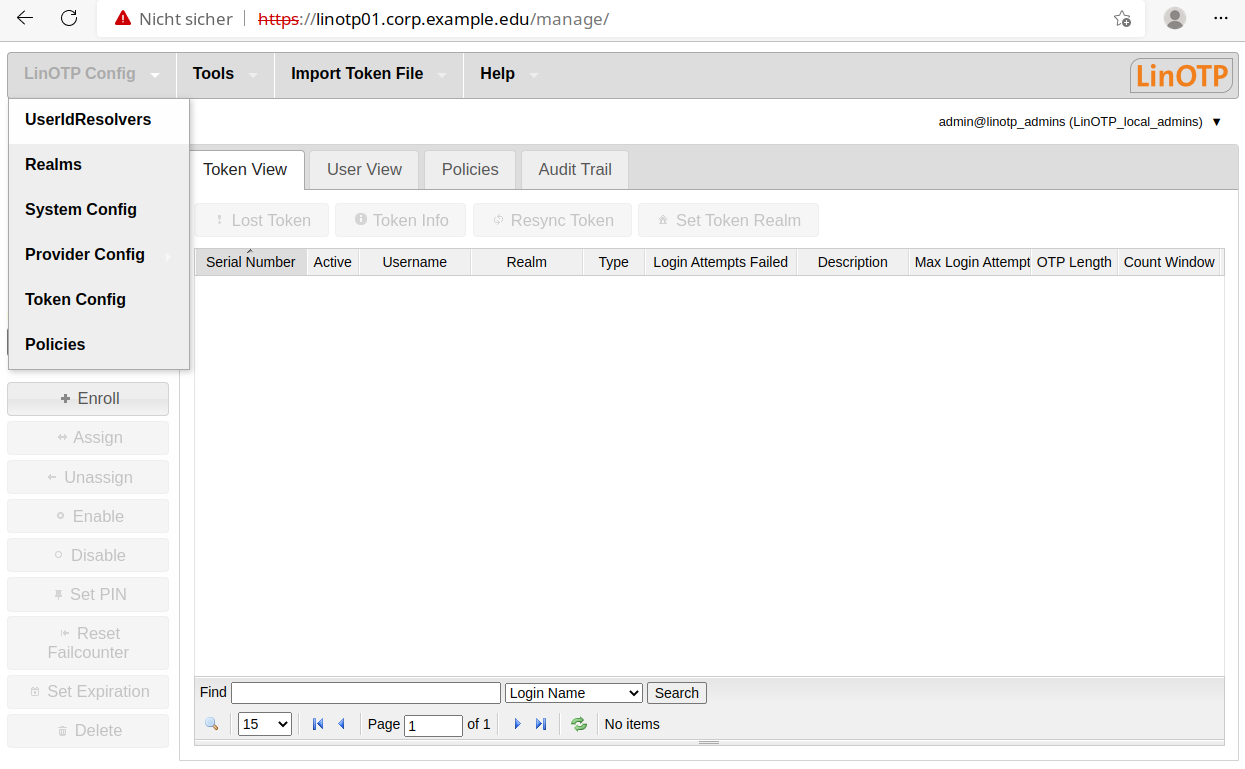
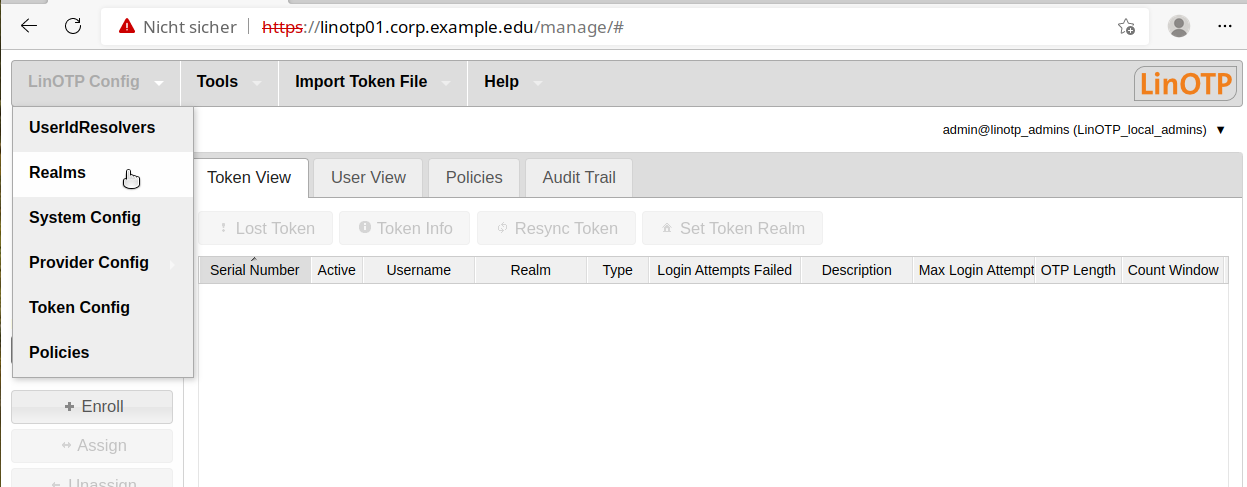
In the start screen, select the item “UserIdResolvers” in the “LinOTP Config” menu.
Press “New”:
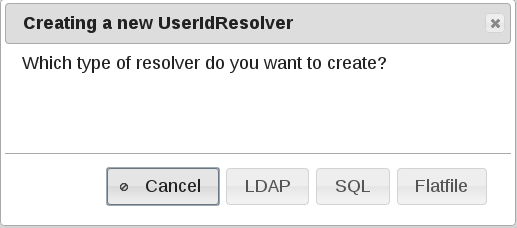
Select “LDAP”:
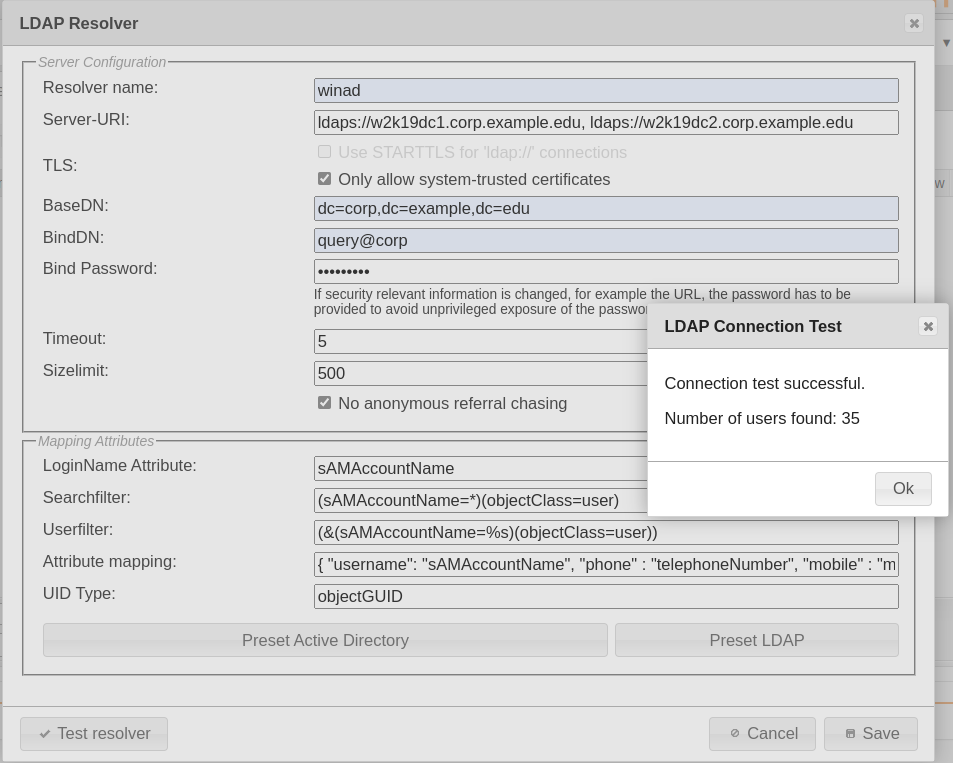
The next popup asks for the needed information to contact your LDAP Server. In case the Server-URI starts with “ldaps://” you must provide a valid CA Certificate in order to connect in a secure manner to your LDAP Server. Insert the necessary data and don’t forget to switch to “Preset LDAP” at the bottom if you want to connect to a LDAP Server instead of the default “Active Directory”. You can verify your settings by pressing “Test LDAP Server connection”. If LinOTP can query successfully the LDAP you will get a message popup with the number of found users.
LDAP Resolver Dialog
For detailed information about the configuration items of the UserIdResolver dialog please see Configuring UserIdResolvers.
1.2.4. Create Realm#
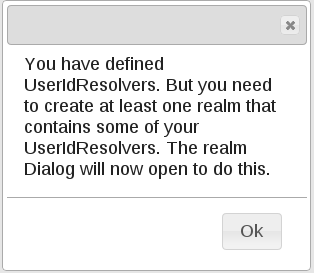
UserIdResolver are organized in so called “realms” in order to use them in LinOTP. A realm consists at least of one UserIdResolver or can combine any number of of them. After you saved your first UserIdResolver you are automatically asked to create a first realm.
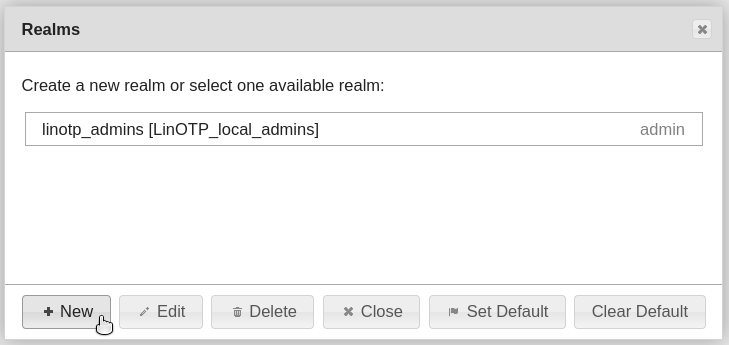
OR you call the menu to open dialog
Click on New realm:
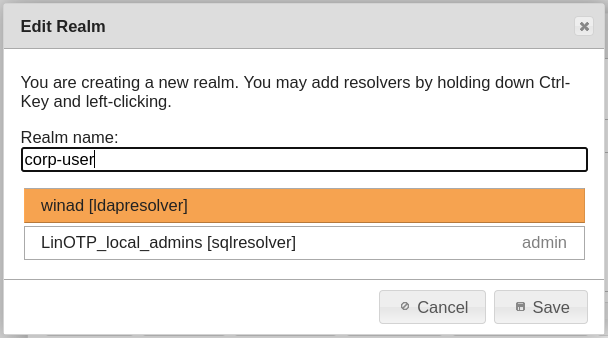
Choose a realm name an select the previously created UserID Resolver:
After saving and closing the dialogs you will (hopefully) see a message of success. The failure or success of every action which has a configuration impact on LinOTP is communicated in the Web UI like this:

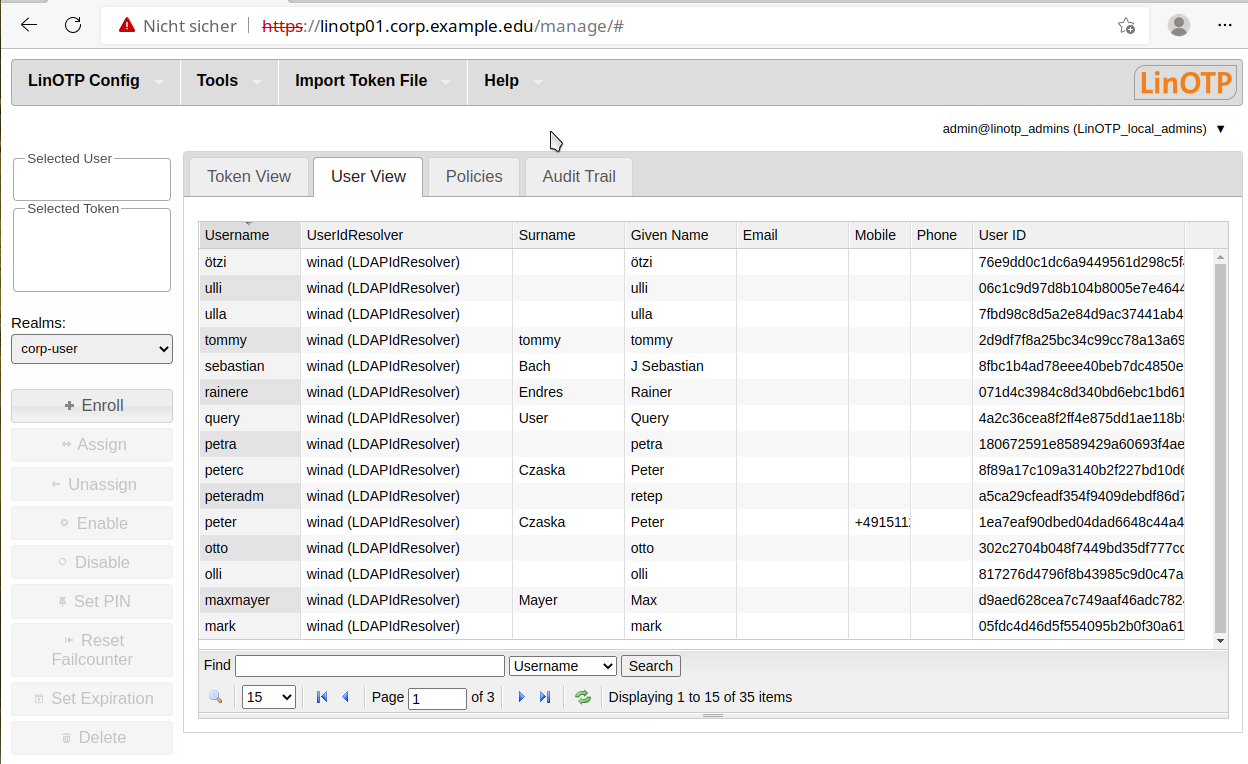
The new realm is selected automatically and if you change to “User View” you can see the users retrieved from the LDAP Server (or any other user-store you just created):
If you would like to read detailed information about the configuration of realms please refer to: Configuring Realms
1.2.5. Create Token#
After we connected LinOTP to your user directory it is time to create an example token and assign it to one of your users. There are several workflows how to do this, here is one of them.
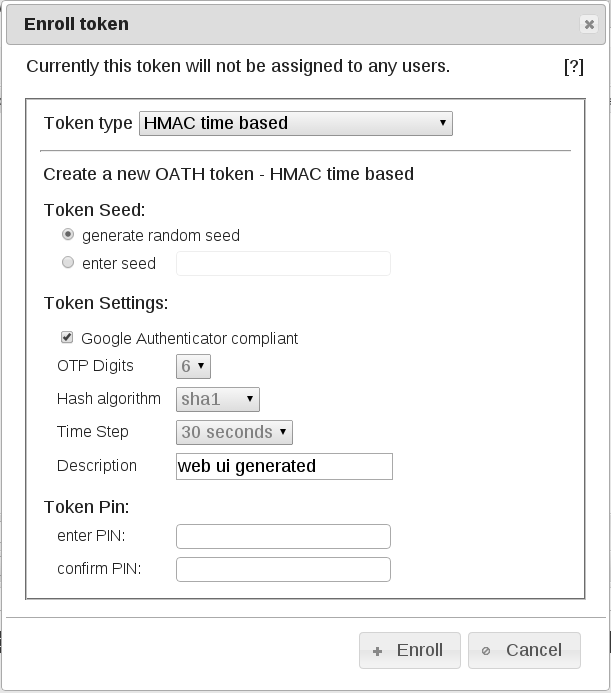
Change to the “Token View” - it is empty right now and click on “enroll”
Choose as “Token Type” “HMAC time based” and if you plan to use the Google Authenticator check the appropriate box. When you are finished, click on “Enroll” For a complete list and explanation of the supported Tokens by LinOTP please refer to Supported tokens and Managing Tokens.
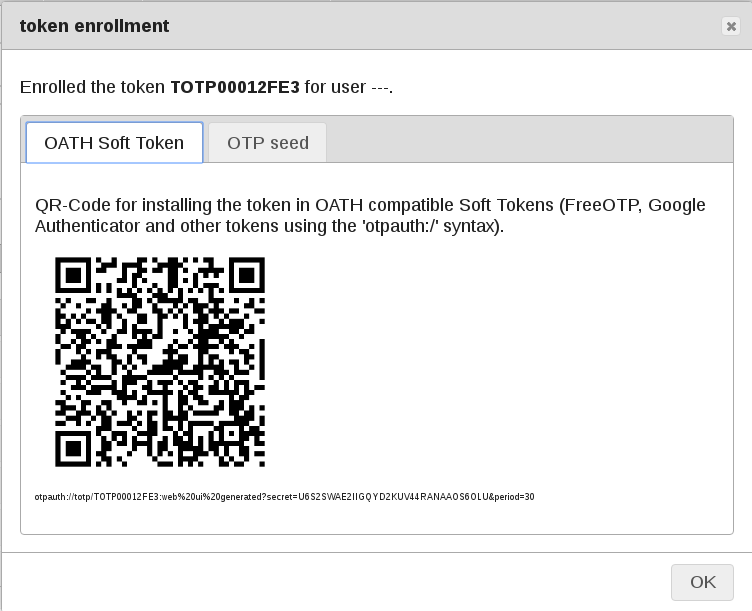
The Token is created and the popup shows the necessary information to import the Token in several formats, e.g. to your Android smartphone using apps like Google Authenticator or FreeOTP. See Recommended Mobile Apps for details. So scan the QR-Code to be able to use your smartphone for authentication later. Do not skip this step, because afterwards you will have difficulties recreating the QR or accessing the token secret for security reasons.
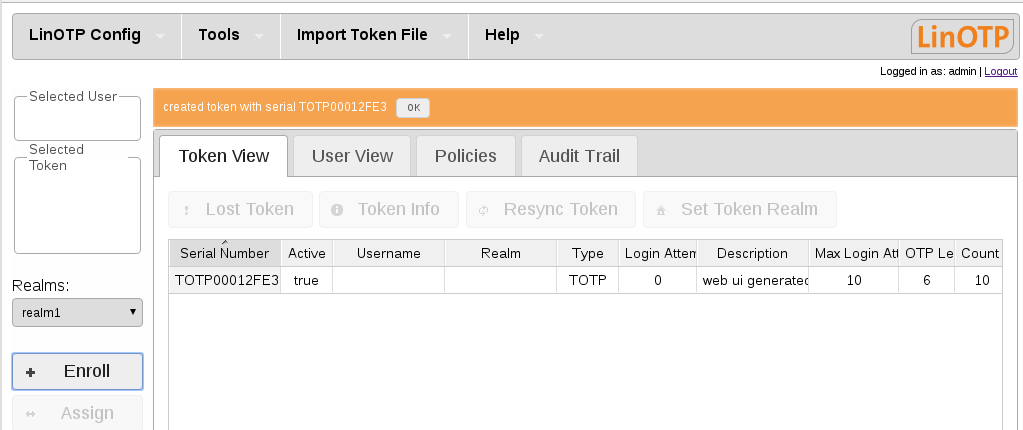
In the “Token View” you can now see the new Token
1.2.6. Assign Token to User#
The last step in our example setup procedure is to assign the previously generated token to one of the users in the LDAP.
Select the Token in the Token View - it will appear in the “Selected token” box. As you can see, there are now a lot of Token-specific actions available on the left.
Change to “User View” - the Token is still selected. Now click on the user the token should assigned to. The username will be appear in the “Selected User” box.

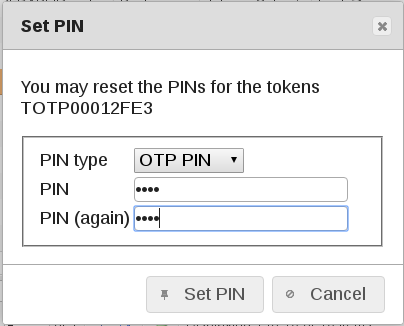
Finally: Click on the “Assign” Button to connect the chosen Token to the chosen user. For security reasons you should enter a security PIN which can be changed later by the user himself in the Selfservice Portal (if so configured).
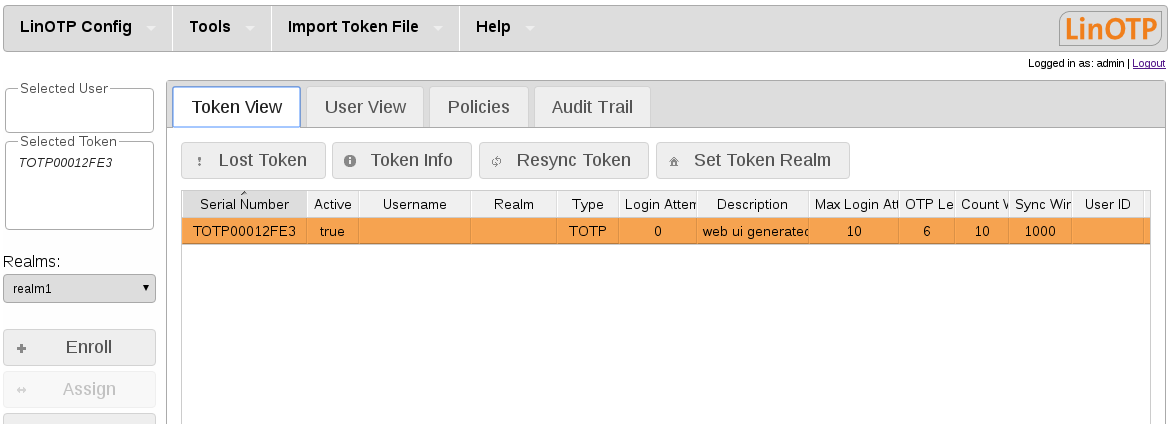
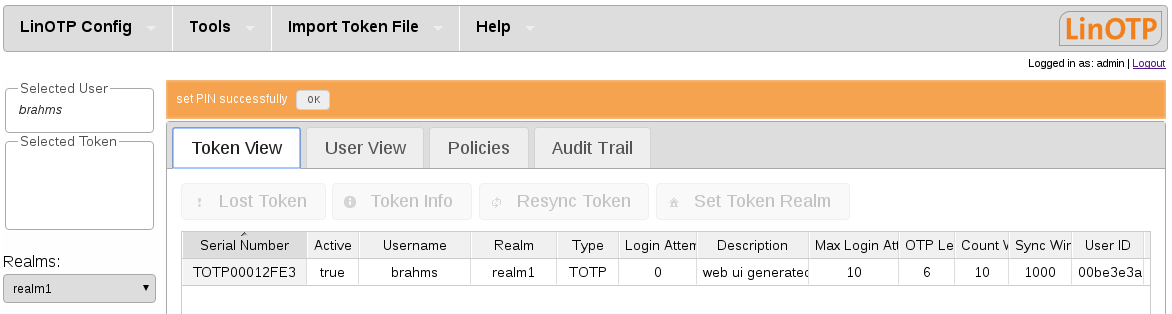
You can verify the assignment in the “Token View”
Congratulations! We are done. Now we have to test, if the Token can really be used to authenticate the user against LinOTP.
1.2.7. Test authentication procedure#
We will use the builtin web-authentication interface of LinOTP. It can be accessed like this:
https://YOUR_LINOTP_SERVER/validate/check?user=USERNAME&pass=PINOTP
So open a browser and type in the URL as shown above. Change the Server address, the username and prepend the PIN (which you hopefully remember… otherwise you can change it in the “Token View” of the Management Web UI) to the OTP which is generated e.g. by the app of your mobile.
So imagine:
IP of your LinOTP: 192.168.42.100
username = brahms
PIN = 1234
OTP = 859512
Then the URL is:
https://192.168.42.100/validate/check?user=brahms&pass=1234859512
Make sure, you don’t wait to long after generating the OTP, because it is time based and will be invalid after a short time. In addition it is essential, that the clock of your mobile and your LinOTP server are in sync. The best way to avoid timing problems is to use NTP server on both machines or instead of time based tokens e.g. event based ones. That is the beauty of LinOTP - you always have a choice!
If the validation succeeds, your browser should show something like:
{
  "version": "LinOTP 2.9",
  "jsonrpc": "2.0802",
  "result": {
     "status": true,
     "value": true
  },
  "id": 0
}
Now you can start building up your token infrastructure and implement the new authentication layer to your own procedures. You will find more detailed information about LinOTP in the following chapters of this Management Guide or specific instructions for how to link LinOTP to your services in our HowTo Section https://www.linotp.org/documentation.html#howtos.