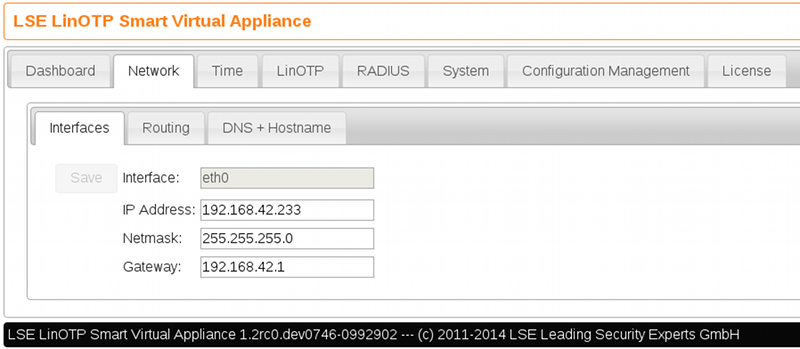
4.2. Configuring network settings
The most important thing of course is to configure the network settings. The Appliance comes with a predefined fixed IP address. When connecting with a cross-over cable you can configure the IP settings, so that the appliance will fit into your network using the configuration wizard. Later on you can use the Web UI for network changes as described here.
To perform the basic IP configuration got to the tab Network → Interfaces.
Appliance Network Configuration
Here you can setup the IP address, the netmask and the default gateway. Additionally you should go to Network → DNS + Hostname to setup the hostname and the DNS server.
If you need to setup additional routes go to Network → Routing.
A popup tells you that your configuration has changed and needs to be saved:
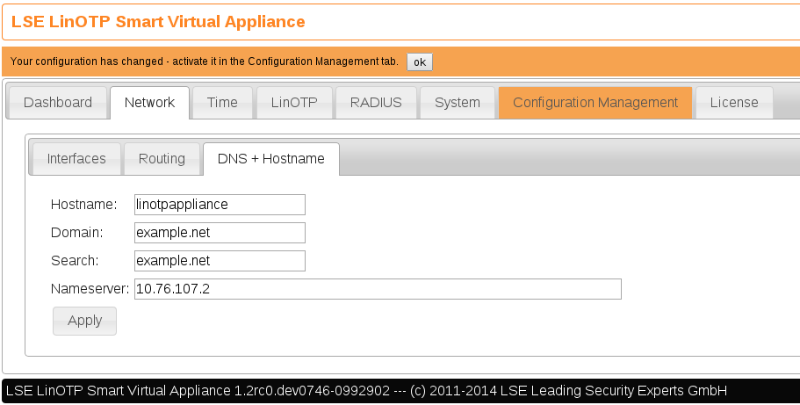
Note
Each time you changed the current configuration set, you will get a note telling you, that the configuration was changed and that you should save and activate it. You can perform many configuration changes and only save them, when you think you are done.